Newborn Photography Props: 10 Essential Props for Stunning Sessions
When it comes to newborn photography props, the right tools can transform a sweet baby photo into a timeless work of art. Whether you’re a professional photographer or a parent hoping to capture those fleeting early days, the right props for newborn photography help set the scene, add depth and interest to your photos, and ensure baby’s comfort.
Today I’m going to be sharing my 10 essential props I use in my Utah newborn studio, as well as links to my favorite newborn prop vendors. I’ll dive into how I use these items to provide variety in each newborn session.
Why Props Matter in Newborn Photography
Props aren’t just pretty — they play an important role in:
Supporting baby safely during poses
Adding visual interest and storytelling
Creating variety in a single session without overwhelming baby
Matching session styling to a client’s personality
My 10 Favorite Newborn Photography Props
Newborn Photography Props That I Use in Nearly EVERY Session
After more than a hundred newborn sessions, I’ve narrowed down my newborn photography props into a list of my 10 essential props to get a beautiful variety of photos in your session. This is a starting point, and will make your sessions go more smoothly and help you give your client a full gallery of images they will love! If I had to narrow down my prop closet to just a few items, these are the ones I would keep.
1. Newborn Posers (Posing Blocks, Beans and Basket Poser)
I use three sets of newborn posing aids in nearly every session. I’ll break them down here into what I use, and how I use it.
Hello Little Posers Original Set
This set of posing “blocks” is from Hello Little Props, and it is AMAZING at getting those blanket poses. Since they don’t show pictures of these on their site (due to copyright, I’m sure) I won’t show them here. But I WILL say that I use these every single time I do a blanket pose. This set comes with instructions on how to use them, which is very helpful. I started out using posing beans for blanket poses, but they tended to shift around far too easily.
These posers are made of dense foam, so they’re not really heavy but they also grab the surface really well, so they don’t tend to shift. They actually help baby to stay put in all the squishy blanket poses, saving loads of time. While this set is pretty expensive, I wish I’d bought it sooner. This is one of my most essential props for newborn photography.

Posing Beans
I started out with this Posing Bean set from Amazon, and I still use them in every single session. These come in a set with multiple sizes, which is perfect when you just need to add a little bit more support to baby. I use these in baskets, on the cat scratcher (see below), under flokatis and sometimes to just angle baby’s head a little bit differently. They aren’t very expensive, but are super useful. I recommend getting two sets, so you have two of each size.
Basket Poser
While you could get away with creating your own layers of blankets in a basket every time, this basket poser makes life so easy! I still often prop one of my bigger beans underneath the bottom of this, to give baby a nice angle to lie on. But throwing this poser on top makes for a nice, smooth surface, which also protects baby from the edge of whatever basket I’m using. Then I cover the basket poser in a blanket or scarf layer to make it pretty.

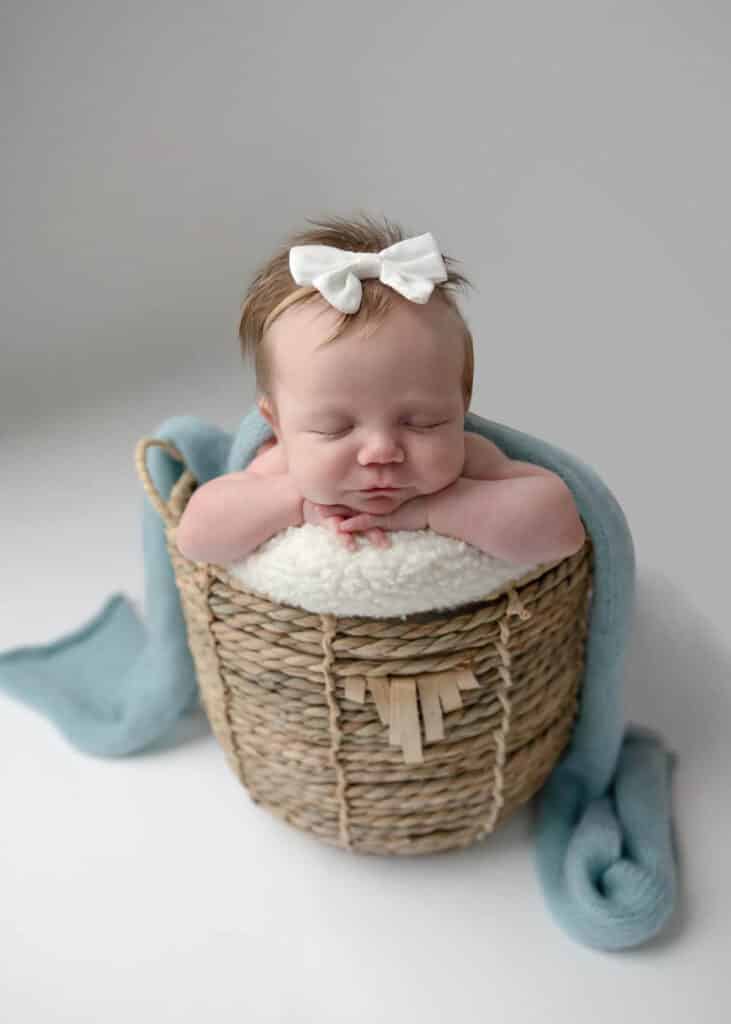
2. Upright Basket
Having a perfectly sized upright basket is pretty much an expectation in newborn photography. Most of my clients who share example pictures with me include at least one picture of baby in an upright basket. They aren’t too hard to find- I’m always checking out Home Goods, Hobby Lobby, TJ Max, Ross- basically any home decor store, for pretty baskets.
It takes a little bit of trial and error to find the size you’re comfortable with, but I’ve found this size is about perfect for me. Too large a basket, and baby tends to kind of get lost in it. Too small, and baby doesn’t fit. Also, for safety reasons I ALWAYS ALWAYS ALWAYS put a flat weight in the bottom of whatever basket I’m using. This helps ensure that baby doesn’t tip the basket over. Mine is an 8 lb. weight. Cover this with a pillow or poser so baby doesn’t squish up against the metal.
The beauty of an upright basket is that you get two very different poses from one prop. I always include a picture of baby propped upright with their back against the poser. This is an easy wrapped pose to get every single time. As far as newborn photography props go, baskets are inexpensive and will give you a lot of value.
You can also turn baby around and prop their head on their hands. This pose requires a little extra time, and an extra set of hands to help baby stay safe. I often ask a parent to come sit right next to baby, and will have the parent propping/supporting baby’s head to make sure it doesn’t tip. If they use a finger or two, it is super easy to edit out with photoshop.
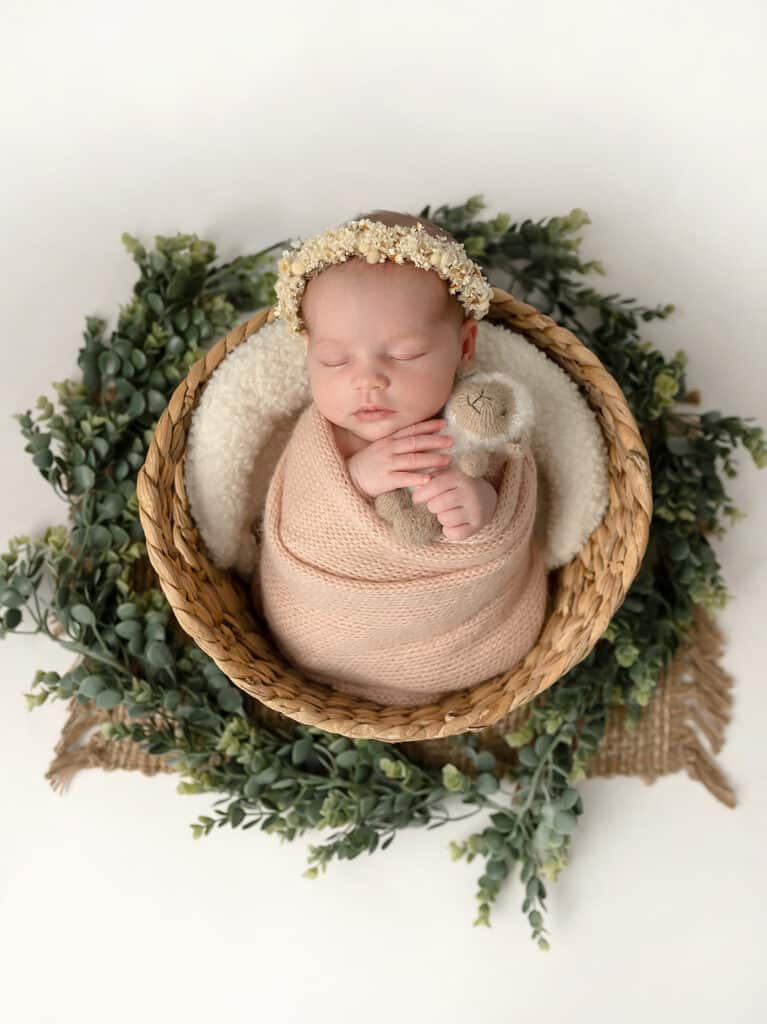
3. Lying Down Basket
Having another basket, where baby can lie down, is a great way to add some variety to your photography session. Just as with the upright baskets, you’ll want to carefully check the size of your basket. The main thing I try to avoid with these baskets is a lot of depth. These lying down baskets should be shallow, and I really like them to be kind of oblong like baby.
I have a long, shallow basket I especially like to surround with greenery or florals, or this gorgeous unique basket from Rozzi Rayne. In the beginning of purchasing props for newborn photography, you may not want to invest in baskets this expensive. But as you get more established, having something different like this can help your photography business stand out.


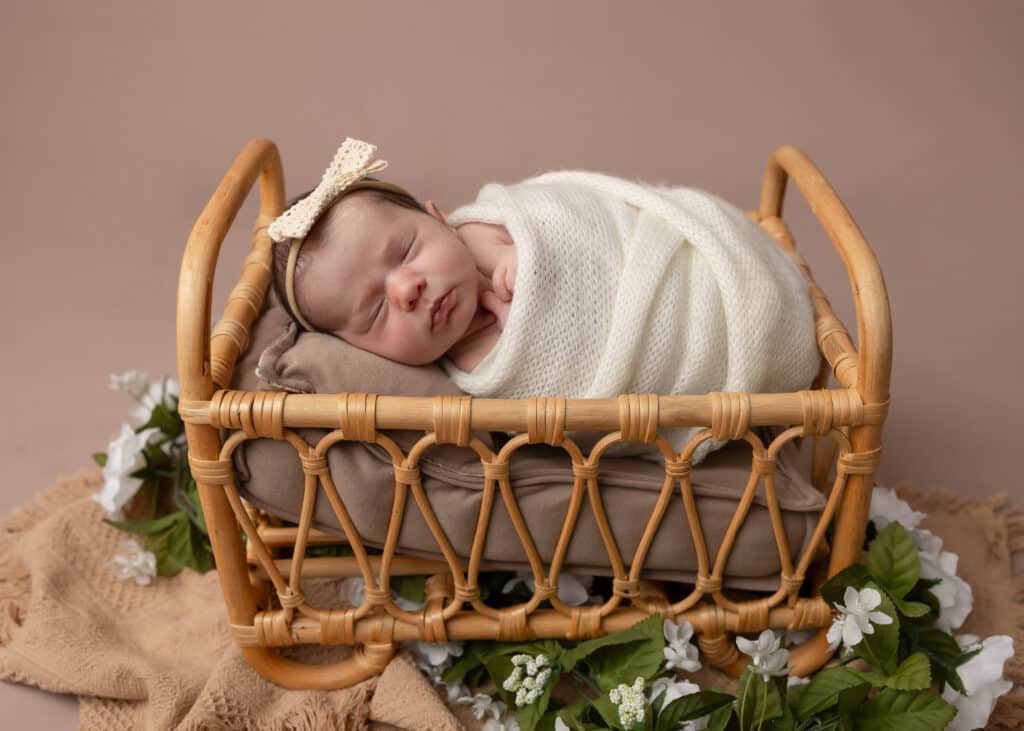
4. Newborn Bed and Mattress
My clients LOVE when I bring out a newborn bed. In the beginning I started with just one, and now I’ve made it up to three different beds. But when you’re starting out, I’d do just one bed in a neutral color (maybe a light brown that works for girls or boys) and a couple of different mattress colors. I’ve linked the props separately in the title here, as I don’t buy my beds and mattresses in the same place.
I always pose baby in the bed with my largest bean underneath the head of the mattress (to prop baby’s head a little higher than his feet). Then I use the pillow (it may come with the mattress set, if not- invest in a neutral pillow or two) behind baby’s neck, keeping baby’s head supported but NOT squishing baby’s chin into his neck.
This can be shot from above with baby facing the ceiling, and then baby can also be leaned on its side and the shot can be taken from the front. This is one of my most used newborn photography props, as clients see these photos and want to use it as well.

5. Posing Table and Blankets
There are many different options for posing table setups. I have a sturdy, adjustable table piled with several thick blankets. The blankets cover my posing blocks (see item #1) and even out the surface. Most importantly, they make a cozy space to pose baby on. My pretty posing blankets are for the top, and are simply large pieces of jersey stretch knit fabric. These can just be purchased at a fabric store. No need to sew or anything! Just measure to know what size knit will cover your posing table or beanbag.
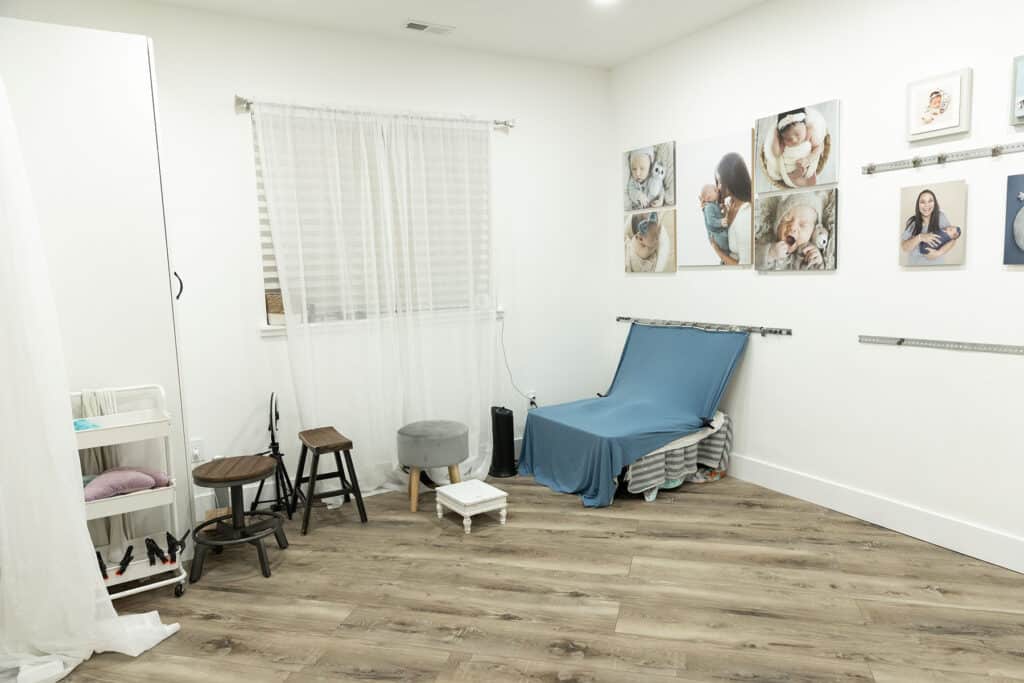
My top knit fabric is secured to the table with clamps, and is adhered to a metal strip on my wall using heavy duty magnets. Keeping the top fabric pulled nice and tight makes editing a breeze!
6. Long Posing Wraps (and Ugly Wraps)
It’s tempting when purchasing your first props for newborn photography to skimp on wraps. Since wraps make posing (and calming) baby super simple, I strongly recommend getting a smaller set of high quality (long) wraps. They’ll make your photos look so much better! I absolutely love buying wraps from Mokumba on Etsy. Get the extra long ones. The regular ones work fine for tiny babies, but if you get a big guy in the studio, or a baby that’s a little bit older (like maybe a 4 or 5 week old) you’ll really want the extra length.

While we all plan on the littlest babies, sometimes they have things come up like NICU stays, and we need to be able to accommodate larger babies as well. And sometimes babies are just born big!
As for ugly wraps, I always wrap my babies with two layers of jersey/stretch knit fabric UNDERNEATH my pretty layer. This helps keep baby snug, evens out any lumps so the top layer is more smooth, and allows me to keep baby wrapped in the under layers while I change the pretty wrap. You can buy fabric at any fabric store- Hobby Lobby, JoAnns… cut it roughly the same height and width of your pretty wrap.
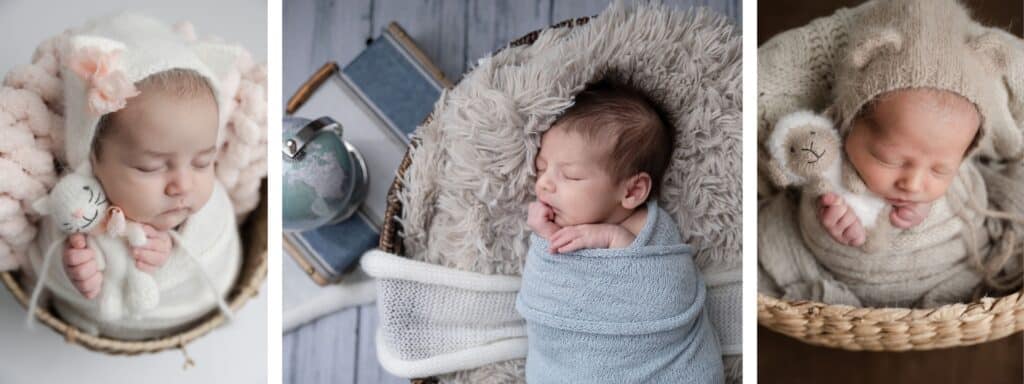
7. Stuffed Animals
Incorporating stuffed animals into a session is a request from most of my clients. These are really easy props for newborn photography to help add variety to your sessions. I’ll usually set up baby in a pose without a lovie, and then add one in and take a few more photos. More often than not, parents will choose one with and one without. This is a quick way to get a few different looks.

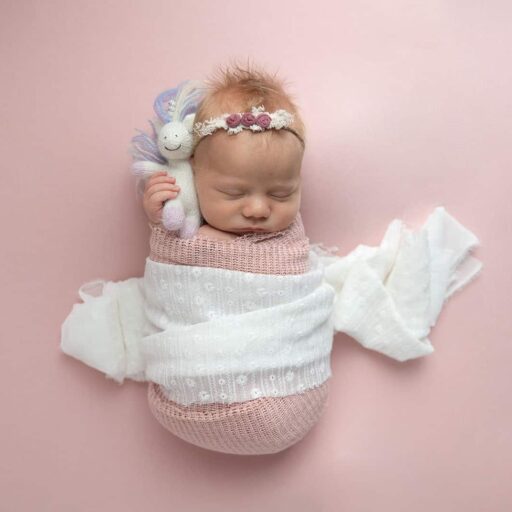
Size is very important when choosing stuffed animals for the session. I have a couple of regular sized teddy bears that sometimes I’ll squish in with baby, but more often I’ll use these itty bitty ones. They look so cute next to a newborn! I also love to include the same lovie if baby comes in for a later session, like a sitter session or a cake smash. It’s a great way to show how much baby has grown in just a few months!
Here are a few of my favorite stuffed animal vendors! While my favorite, Tonya Toys, doesn’t appear to be taking orders right now, I also love No. 2 Willow Lane and have a lot of photographer friends who swear by AGK Originals.
8. Outfits and Bonnets
Just like stuffed animals, outfits and bonnets are a great way to build up your newborn photography props to the next level. It only takes a couple of bonnets (that match your wraps) to help change up a picture enough to build variety in your gallery. Teaming this up with stuffed animals… I’d do a setup with baby in a wrap, add a bonnet, then add a lovey. Three different looks, easy as can be.
Outfits are a bit harder, as babies often don’t love getting dressed and undressed. I usually let mom and dad pick out one outfit at the beginning of the session, and put baby in it right away. Then if baby is awake or fussy, I’ll wrap baby on top of the outfit and do some wrapped shots. Once baby is nice and sleepy, I’ll just pull off the wrap and I’m ready to go.

My very favorite vendor for outfits is Dalia Photo Props. I also love No. 2 Willow Lane and have found outfits at some random shops on Etsy. I recommend buying from sellers that make outfits specifically for newborn photography. I haven’t had much luck on Amazon, as I find most of the outfits I’ve bought there are too large or just don’t fit quite right.
9. Flokati and Cat Scratcher
A nice flokati is a newborn photography prop I wish I had invested in earlier! It’s another large investment, but is also something I use EVERY session. It’s perfect for posing babies with little siblings. I’ll prop up the portion where I lay their heads, and the texture of the flokati means you don’t have to worry about wrinkles in the background. Yes, you can make do with a cheap fur rug, but a nice thick layer made for photography will be noticeably nicer. I purchased my flokatis from Luneberry.

Grab a neutral tone, and you can color change it in photoshop if you need to. To start, it’s fine to have just one! I love the 4×6 size in 3000 grams. 3×5 is fine for baby alone, but when you add siblings it gets a little too tight for my taste.
To make posing on the flokati easy for a single newborn (or even twins!) I love placing it over this cat scratcher, with a medium sized posing bean up behind baby’s neck or head to support it. It makes the perfect little nest to put a wrapped baby into!
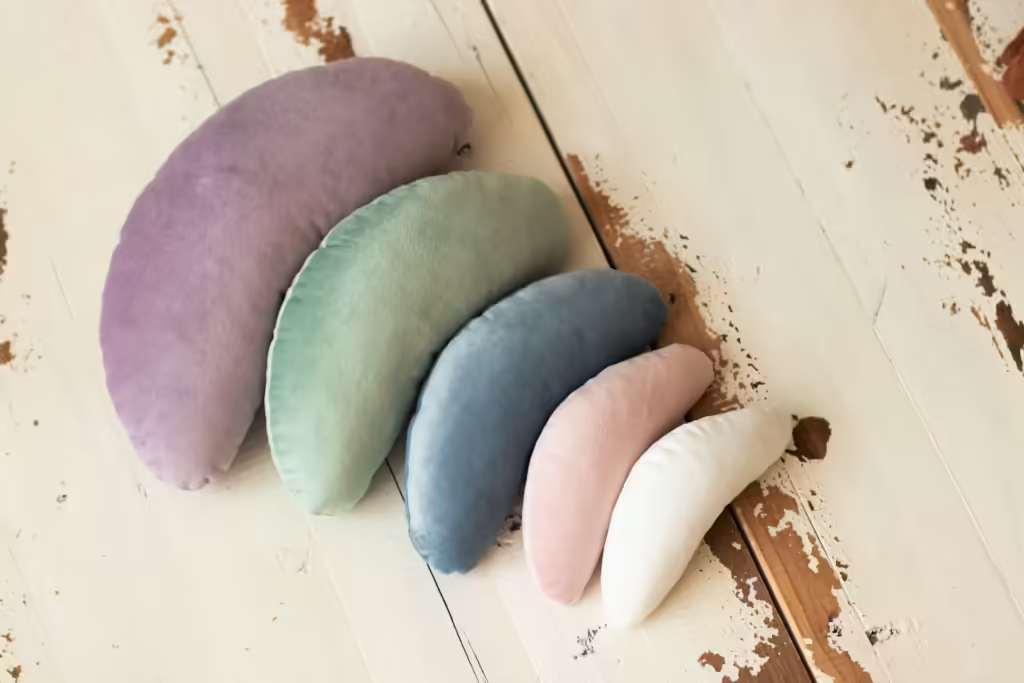
10. Layers
Adding some layers to your posing just really helps level up the image. These can be pieces of fabric with nice texture, scarves and placemats work really well. You can also buy layers through newborn prop vendors. Sometimes I’ve been able to find pretty fabric remnants at Joanns Fabric. Anything to add a little bit more texture and visual interest.

A Few Luxury Newborn Photography Props for Elevated Sessions
Once you have the basics, these luxury items can make your sessions easier and help elevate your portraits to a new level.
11. White Noise Machine/Baby Shusher
I use my white noise machine in a large percentage of my sessions. I typically start out with some pretty background music, but if baby is at all fussy, this is where I go next. My white noise machine has an added bonus of having a timer function, turning it off after an hour. I love that this helps me keep track of my workflow and is a way to check in with how we’re doing time-wise, especially if my baby is having a hard time settling.
This baby shusher is the same idea, and is used by a lot of newborn photographers. I have a shusher app on my phone that I’ll sometimes use, but now I prefer the next item on my list instead.

12. Newborn Nerds Sleepy Vibes
This is defintely a luxury item- a newborn photography prop that I dreamt about and saved for. I have to say it was worth every penny. I LOVE my sleepy vibes posing bean. It vibrates and plays white noise at the same time, as well as being a perfectly sized little bean. I put it in baskets with babies. I lay it next to babies on blankets and in wrapped poses. It’s just delightful and so soothing for fussy or wiggly little ones. It takes a couple of AA batteries and has a zippered cover so you can wash it.

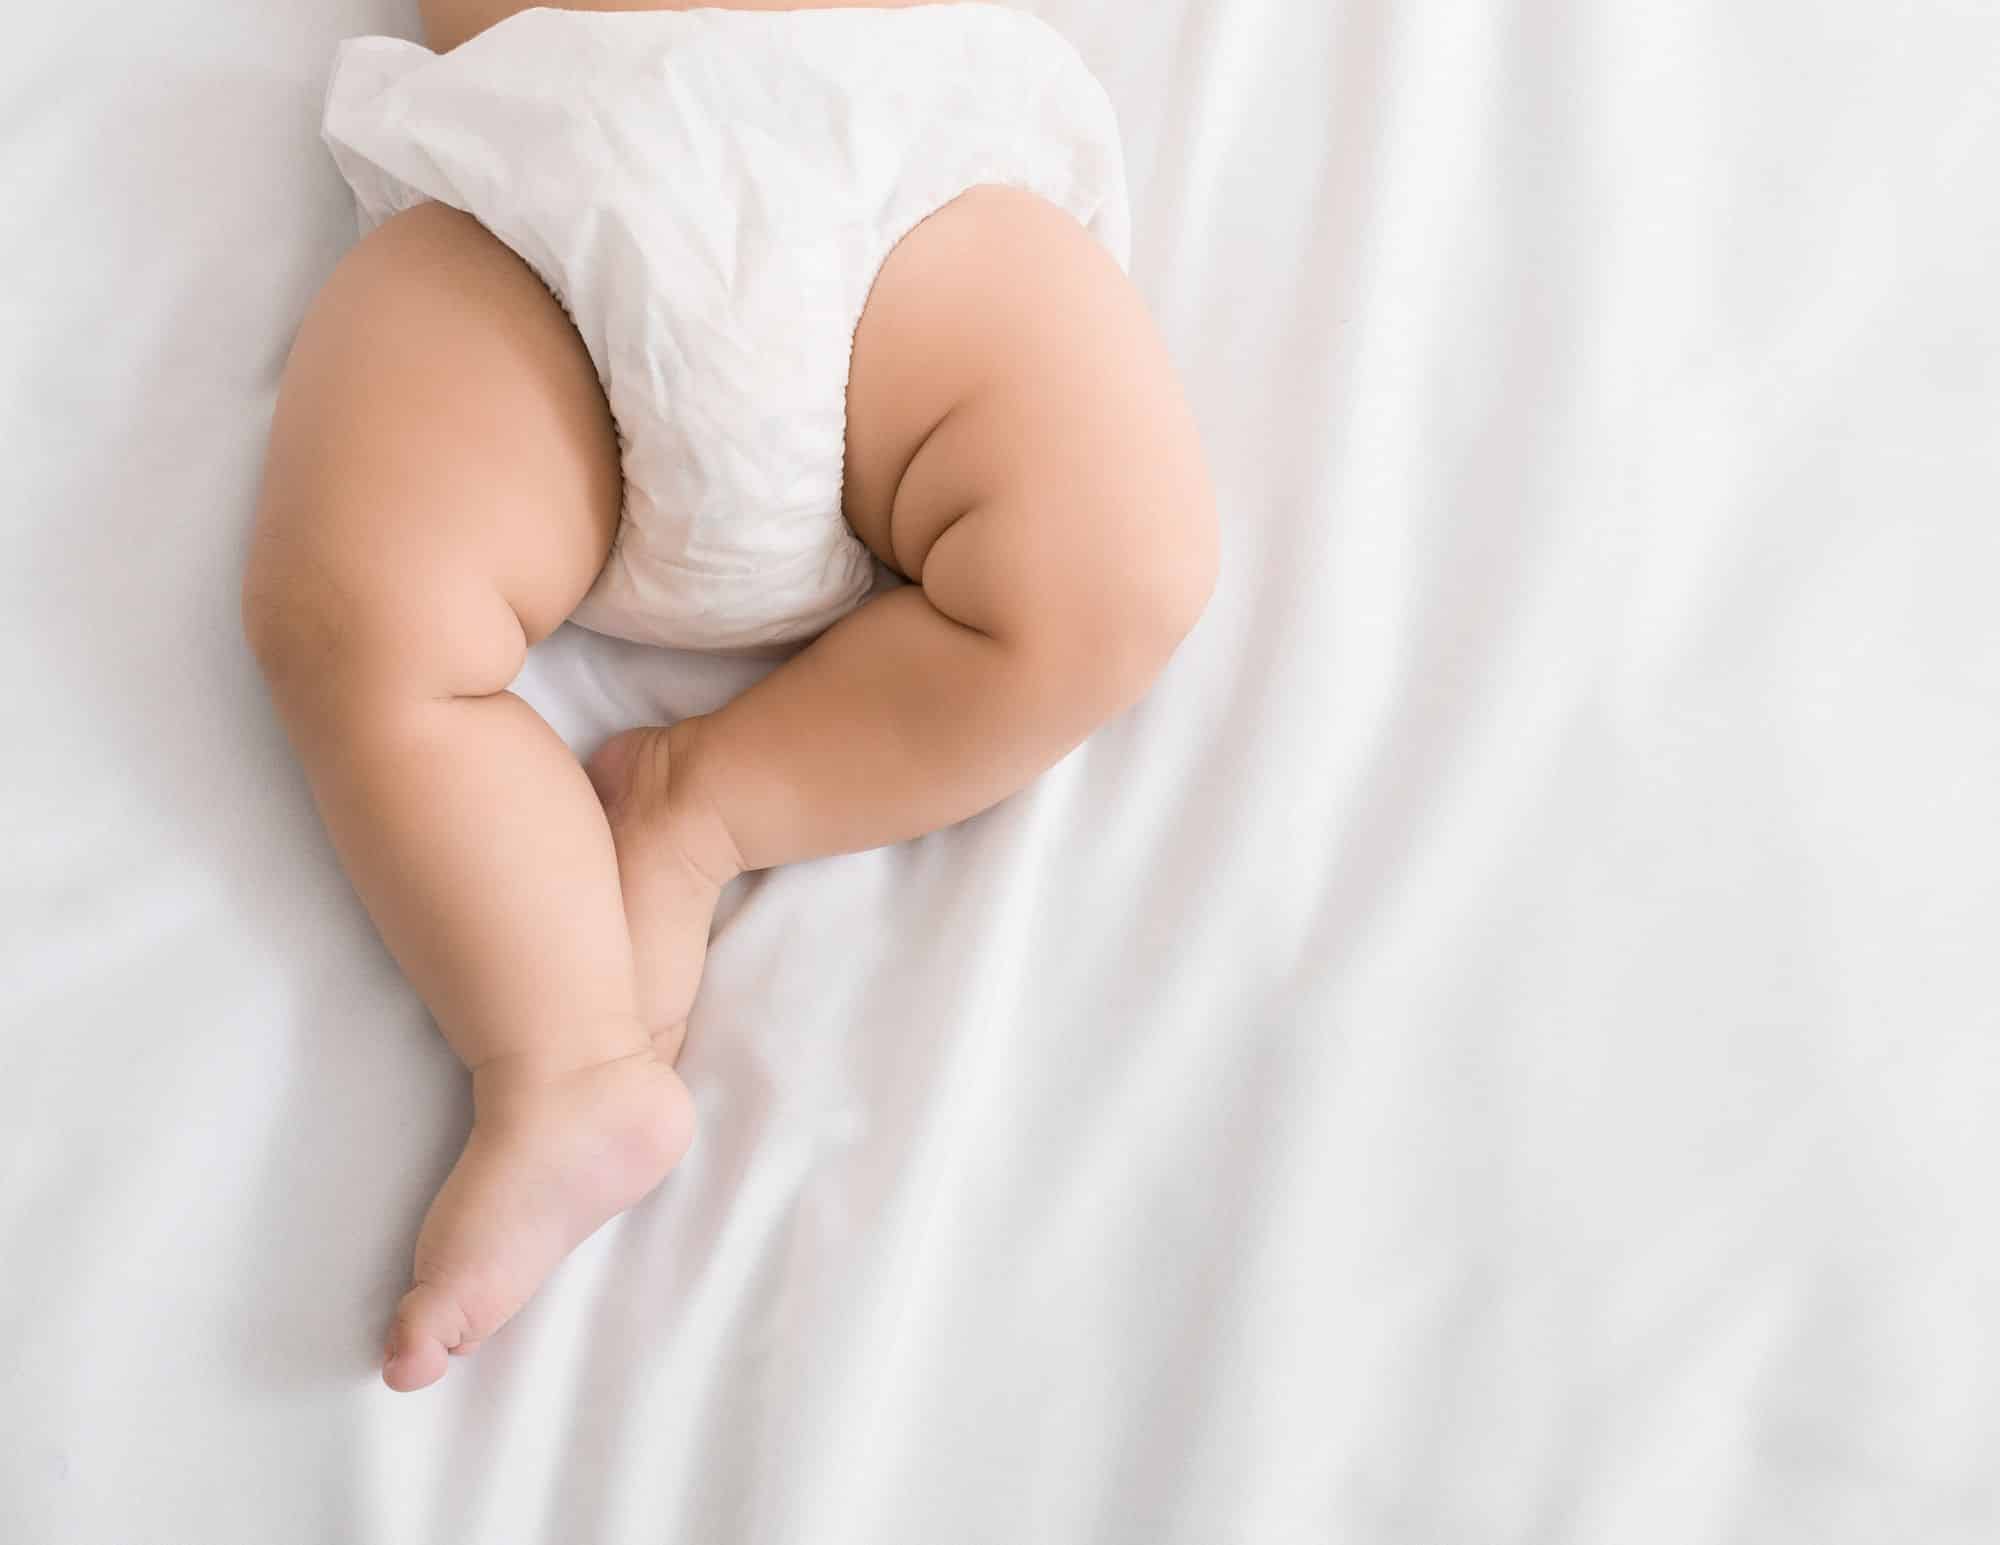
13. Diaper Cover
This makes no difference to the family, but makes editing a lot easier! I have every parent put this diaper cover over their baby’s diaper when they get to the session. It stays on underneath outfits and wraps, and just helps make a more seamless look so I dont get white, bulky diaper showing through. Sometimes, especially when babies are lying on my posing table in an outfit, this diaper cover sticks out of the outfit. I’m totally ok with that because it’s so easy to blend using photoshop.

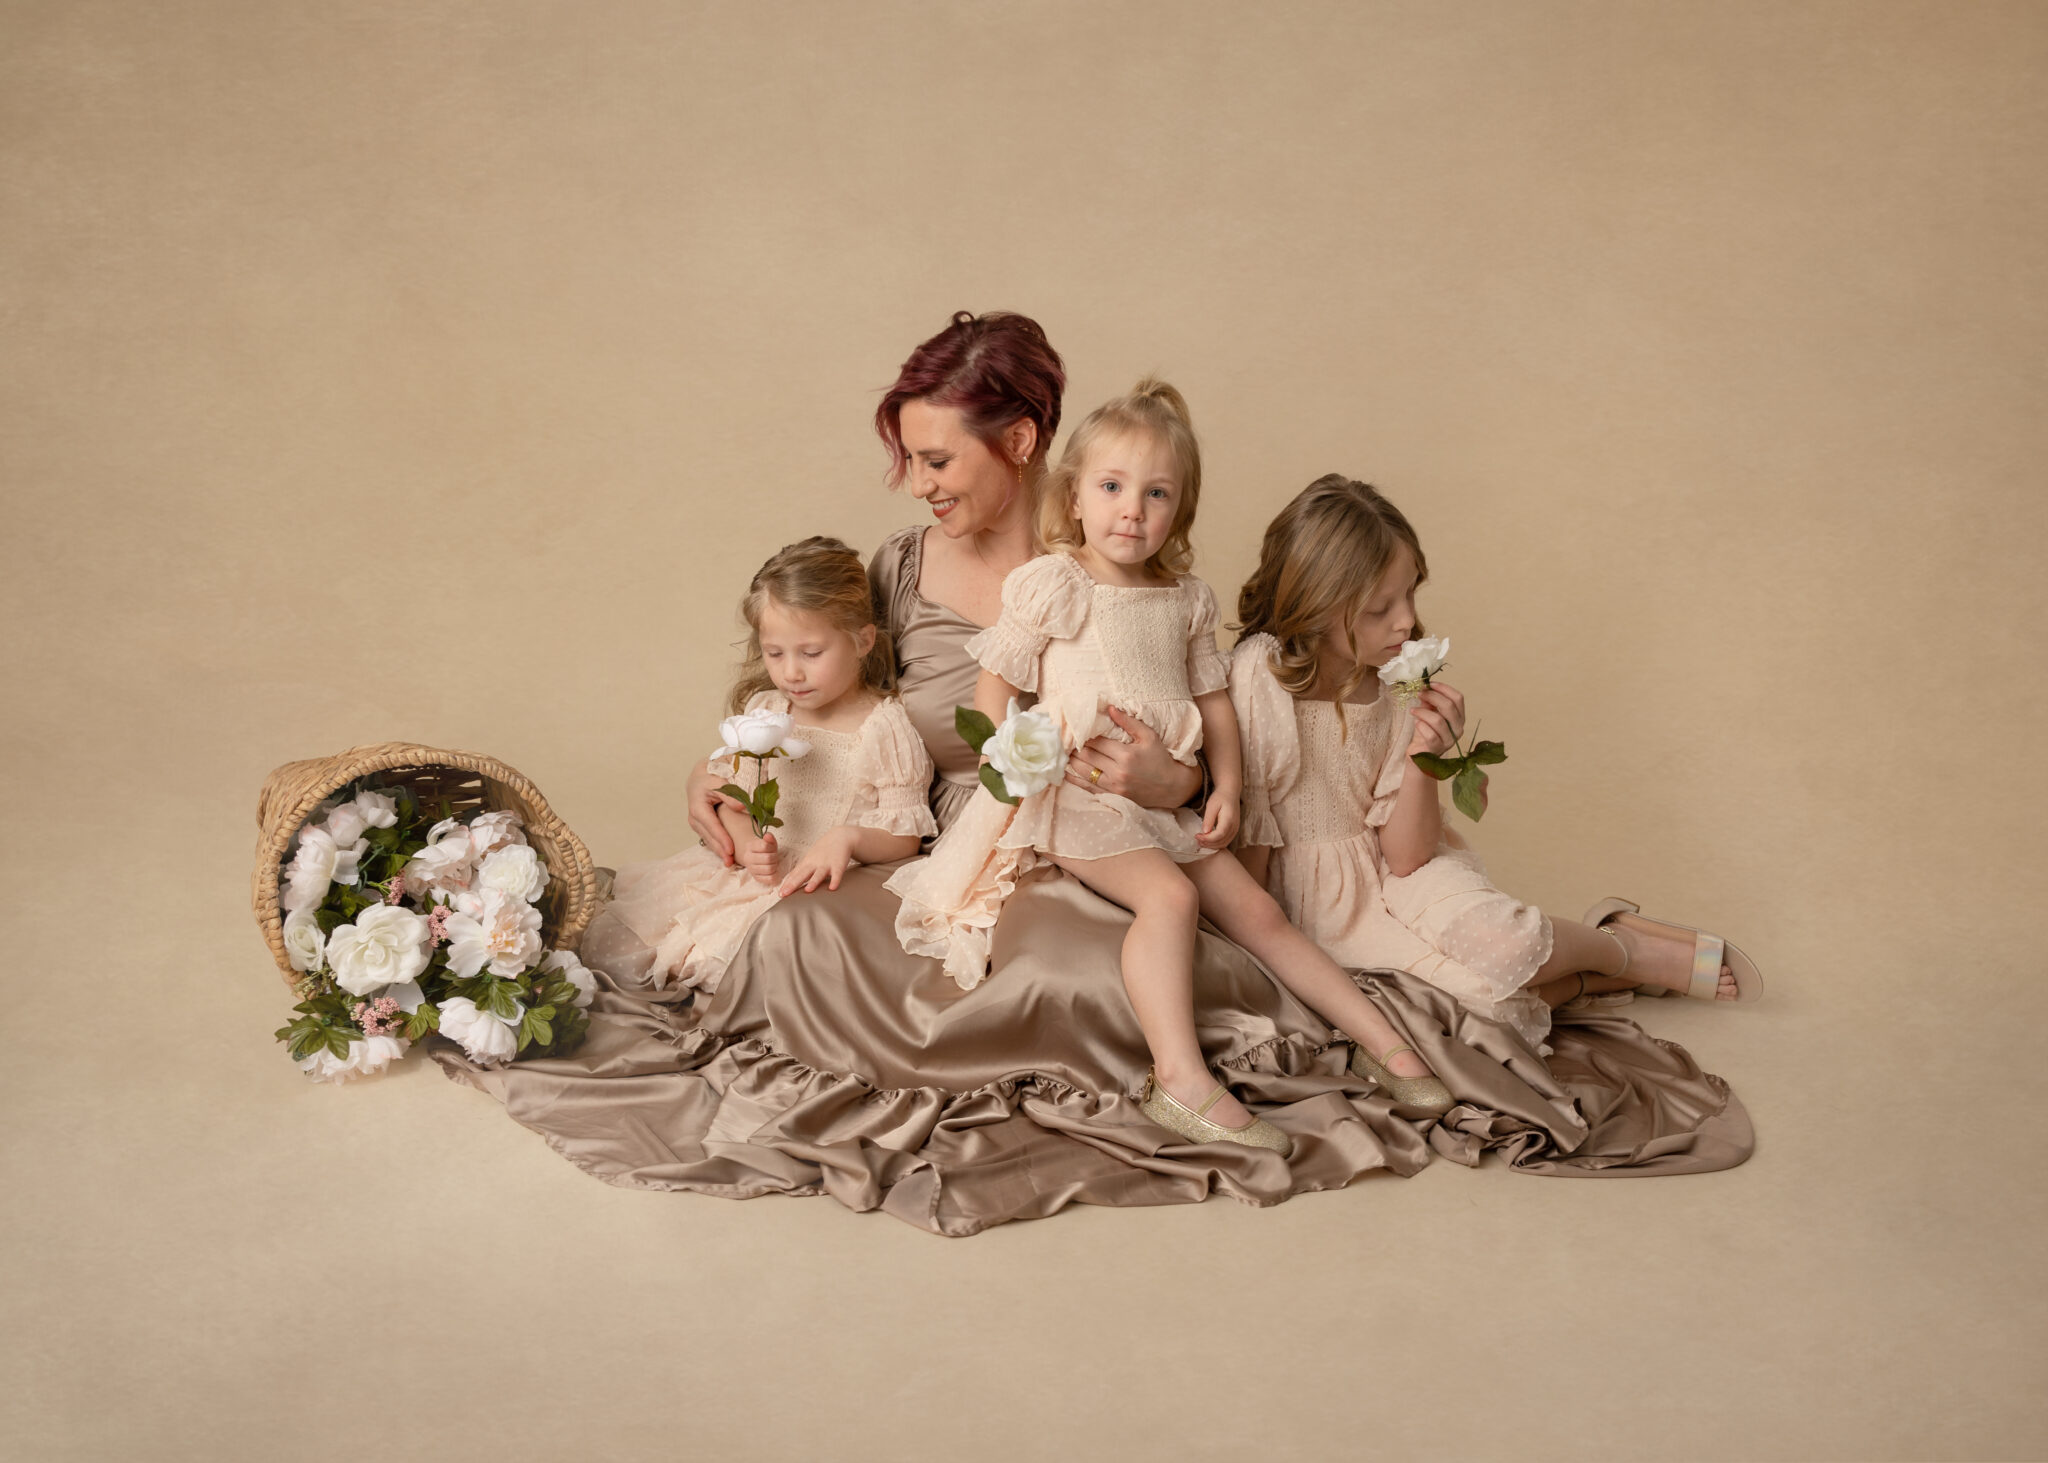
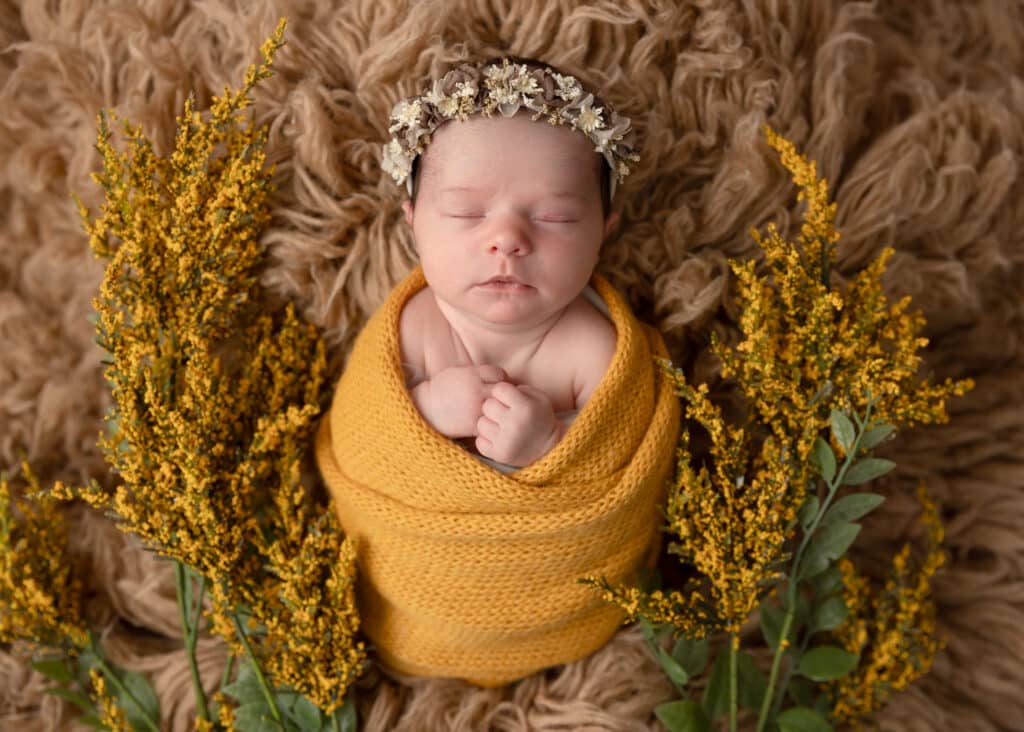
14. Florals
I use some kind of floral in most of my sessions to add visual interest. When photographing a baby girl I’ll usually use something with flowers and match the baby’s wrap and headband to the pop of color (or white). For baby boys, I have a couple of strands of greenery that I like to use. I’ve found these at my local craft stores like JoAnns and Hobby Lobby.

15. Seamless Background Paper- Newborn Nerds
I started out my sessions with fabric backdrops, and then switched to seamless paper (which I LOVE). I don’t have to worry about wrinkles every time my clients move, and it’s so easy to roll out and change when I want to. I have them mounted to my ceiling with a backdrop pulley system (see next photography prop). My first seamless papers were Savage Seamless, and I still think they’re great quality seamless papers.
But I heard great things about Newborn Nerds papers, and now that I have a few I just don’t think I can go back. I’m not sure exactly what it is about these seamless papers, but they have a little bit more texture and thickness than Savage, and they just photograph the MOST BEAUTIFULLY. Excellent color, I don’t have to worry about shine. I’m currently saving up for a few more colors. My only complaint is that they aren’t quite as wide as I used to purchase in Savage. But it’s only a few inches difference and so I photoshop edges if I have to. They also rotate what they have in stock, so you have to plan a little ahead to get what you want.

16. Backdrop Pulley System
I love, love, love my mounted backdrop system. I wish I had room to install more of them! These make changing up my backdrop a breeze. I usually use a few different backdrop colors in EVERY session. Was it easy to install? It was easy for ME because I made my hubby do it 🙂. Maybe not so simple for him. But very, very worth it. He did mount it to the beams in our ceiling, so it’s nice and secure. Please don’t mount this to drywall. It’s very heavy and you don’t want this to come crashing down.
I also got these rods to put through my backdrop rolls so they don’t sag. 10/10 recommend. My hubby cut them to the correct length for my backdrop rolls.

FAQs About Newborn Photography Props
Q: What are the most essential props for baby photography?
A: A few posing beans (or even rolled up washcloths), a few wraps and headbands, and a safe basket or crate are my top essentials.
Q: How do you ensure props are safe for newborns?
A: Always have an assistant or parent nearby, use padding, and never leave baby unattended in or on a prop.
Q: Where can I find affordable newborn props?
A: Etsy, local craft markets, and even home décor stores often carry suitable baskets, blankets, and fabrics.
Q: How many props should I use in a session?
A: I usually use about 5-6 main props, rotating blankets, wraps, and accessories for variety.
Do you have any other questions about newborn photography props? Leave a comment below!
Final Thoughts about Newborn Photography Props
The best props for baby photography are safe, beautiful, and versatile. If you’re just starting your prop collection, focus on a few quality pieces you can use in multiple ways — your clients (and their babies) will thank you. As you start doing more sessions and building up a client base, set aside a percentage of your earnings to invest in the props that best fit your business style.
I hope you enjoyed learning about my top 10 props for newborn photography!
I’d love to hear what you consider to be essential newborn props as well! If you have any questions, I’m happy to help out! Contact me through my contact page and I’ll be in touch soon.