How to Make a Balloon Garland: Easy DIY Balloon Arch Tutorial
How to make a Balloon Garland (and Arch): Step-by-Step DIY Tutorial
Planning a party or special event? Whether you’re going for a whimsical, free-flowing balloon garland or a show-stopping balloon arch, these stunning balloon decorations instantly transform any celebration. In this guide, I’ll walk you through how to make a balloon garland (balloon arch) step-by-step—perfect for birthdays, weddings, showers, or just adding a little magic to your space. With a few simple tools and some creative flair, you can create a professional-looking DIY balloon arch right at home.
As a Cake Smash Photographer, I’ve had plenty of experience setting up Balloon Garlands for sessions. The best news is that creating a balloon garland is actually quite simple. It does take a little bit of time, but the outcome is well worth the investment.
Here’s a quick video walk-through of my process, followed by a step-by-step and some helpful hints to get you on your way.
Step-by-Step Video of Creating a Balloon Garland
Balloon Garland vs Balloon Arch — What’s the Difference?
If you’re like me, you’ve heard both terms and you’re not really sure which one you’re using. Here’s a quick break-down.
- Shape & Structure — A balloon garland is flexible and organic, draping across walls, tables, or staircases. A balloon arch is more structured, usually built on a frame to create a curved or circular focal point.
- Effort & Materials — Garlands can be made with just a balloon strip and tape, while arches may require a sturdy frame, fishing line, or even PVC pipes for support.
- Visual Impact — Arches make a dramatic entrance piece or photo backdrop, while garlands add soft, flowing color to any area.
- Occasions — Arches are perfect for doorways, outdoor ceremonies, or statement décor. Garlands are great for accent walls, dessert tables, or wrapping around existing structures.
I use both. Sometimes I drape the garland along my backdrop, and sometimes I hang it in an arch. Really, the setup is almost exactly the same.
Creating a Balloon Garland: Gathering Necessary Items
There are only a few things you really need in order to create a balloon garland. Here are the items you’ll see in this video.
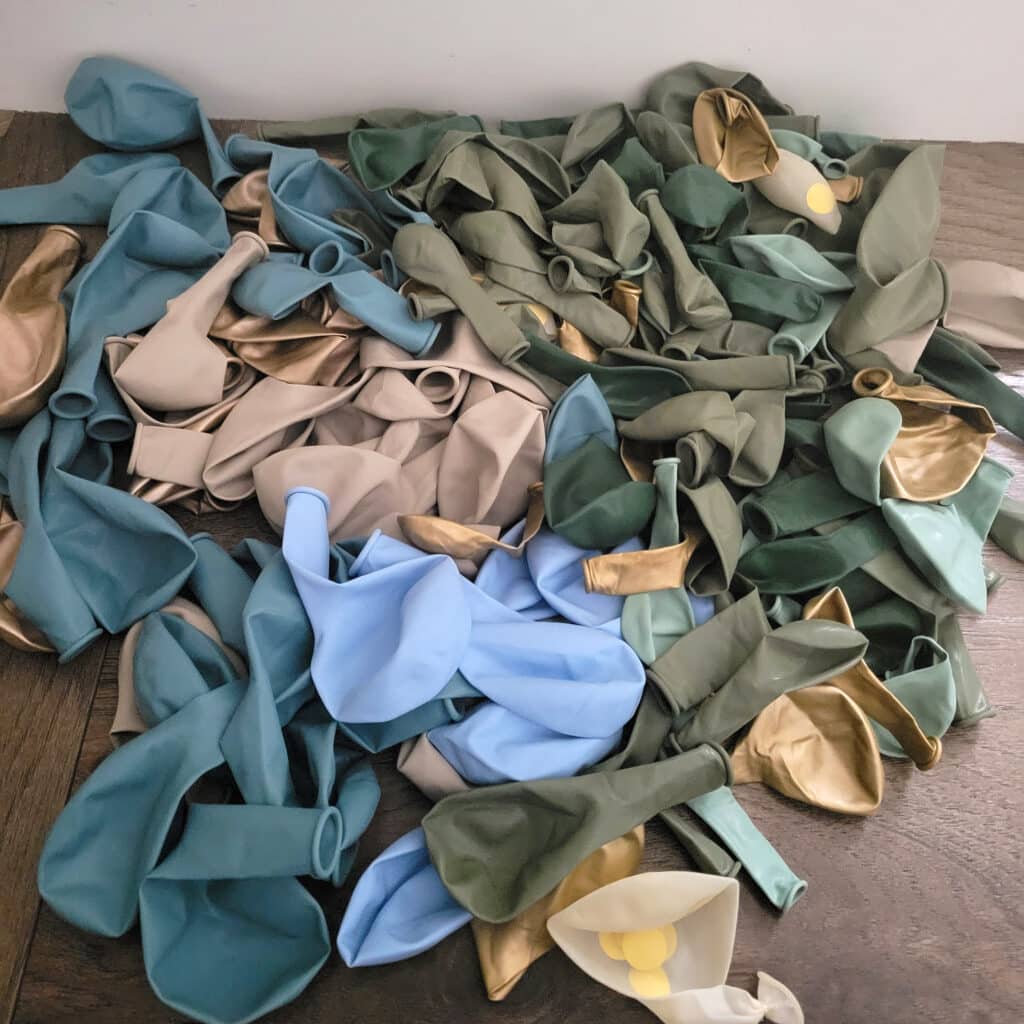
Balloons
I like to create my balloon arches with about 2-3 main theme colors, along with 3-4 supporting (more neutral) colors. You can do this however you would like. You could even make a balloon arch with a single color! I find most balloon arches I see have multiple. You can find your balloons as a kit on Amazon (just search for them, there are a lot out there). Or you can create your own variety.
One benefit to creating your own mix is that you can get larger balloons. After using a bunch of kits from Amazon, I found that I was ending up with a lot of leftover smaller balloons. I have found that my favorite size balloon for my balloon arches is 12″. My ultimate balloon arch happy place is a set of 12″ balloons to work with, along with some 6″ balloons to even it out along the way.
What if you’re not making a bunch of balloon arches like I am, but you just want to make one for a party and be done with it? GET A BALLOON ARCH KIT and call it good enough! I really love using a set of bigger balloons, but you can absolutely get by with a pre-made kit.
How many Balloons do you need for a balloon arch?
I tend to use about 80-85 balloons for my balloon arches, which are the perfect size for a cake smash session. You don’t want the arch to be too big, because you want to see it all (or at least most of it) in the shot. If you want a larger arch, maybe for party decor or something else, you’ll need to use more balloons.
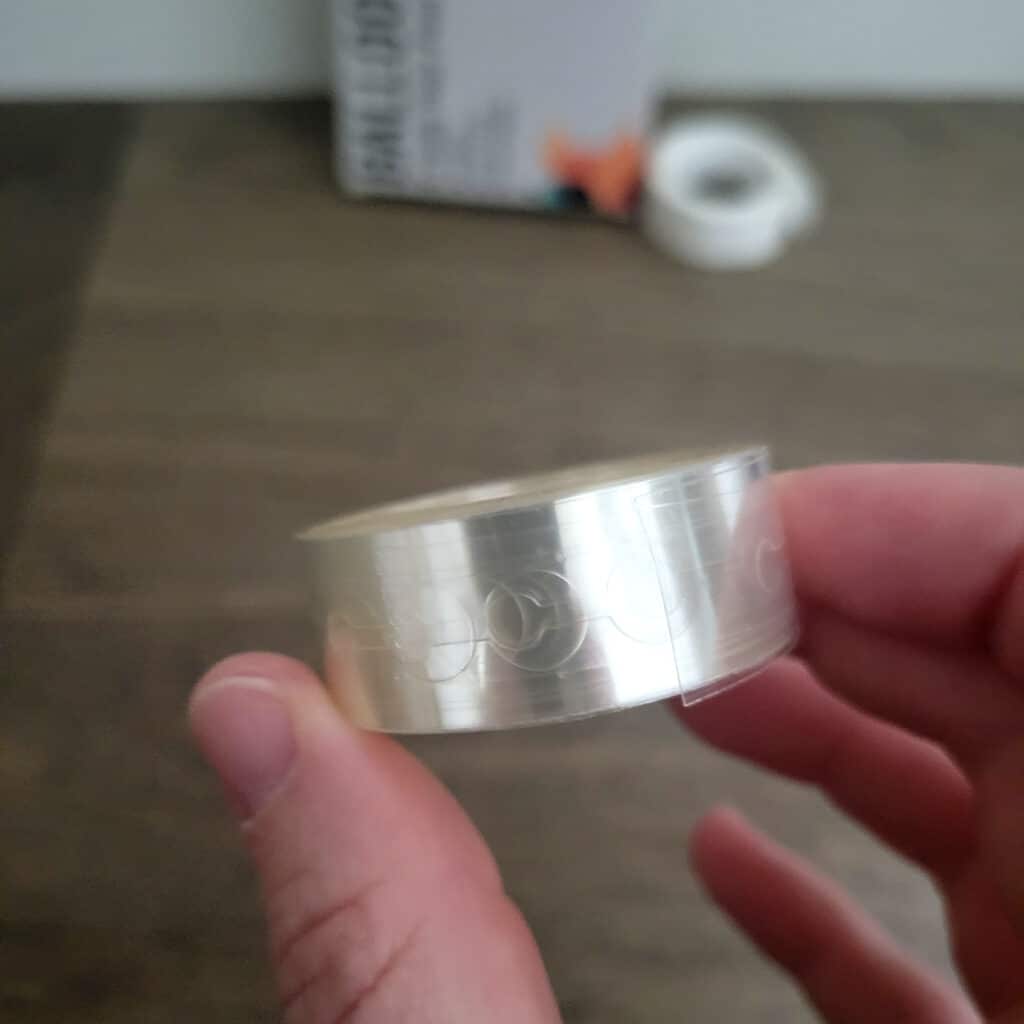
Balloon Arch Tape
There are plenty of people out there who swear by using string or some other contraption to hold their arches together. To each their own, but I’d much rather just use a roll of balloon arch tape and save myself some stress. This usually comes in those pre-made kits I talked about, but you can also buy a box of these to have on hand. They’re super cheap and in my opinion completely worth it.
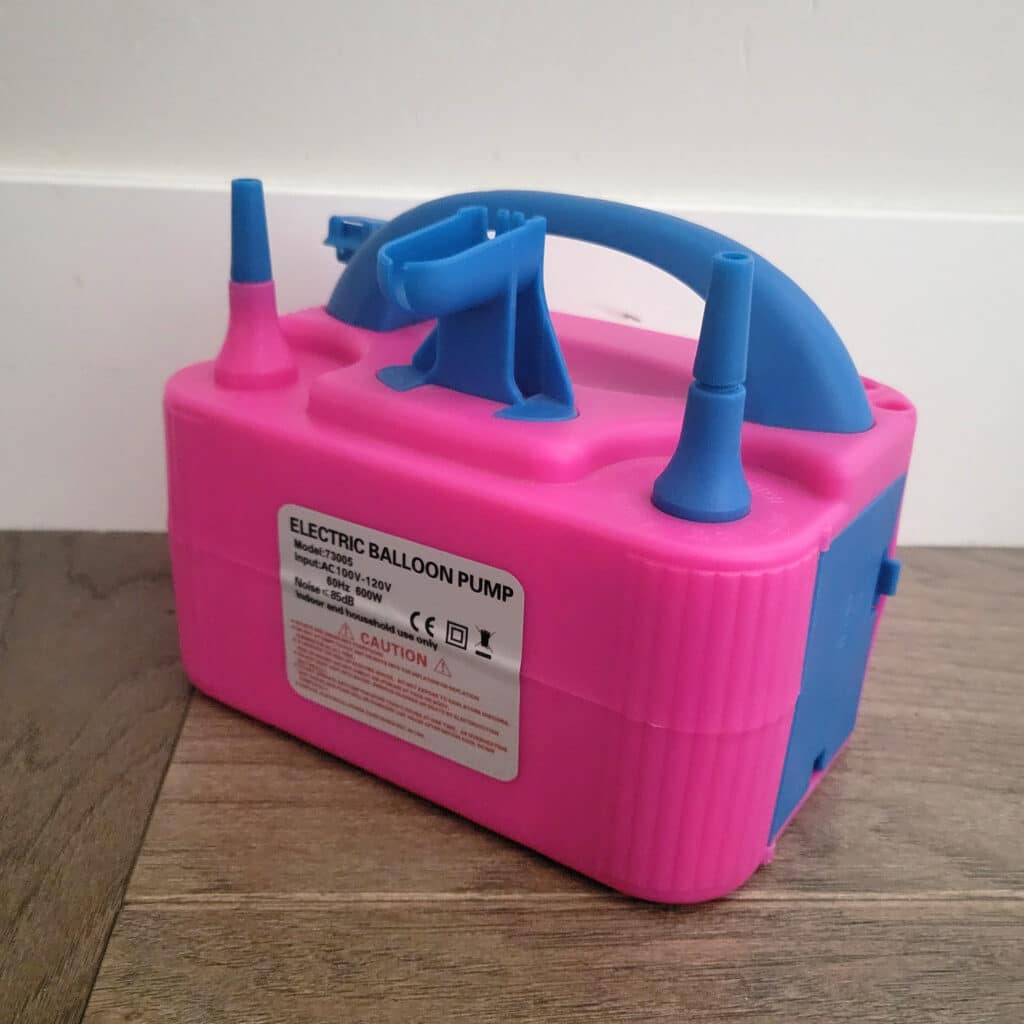
Balloon Pump
Unless you have the lungs of an elite athlete, I would also strongly recommend getting a balloon pump to fill up all those balloons. I own this nifty little guy, and it’s not only super easy to use, but the cord tucks inside and it stores really well, too.
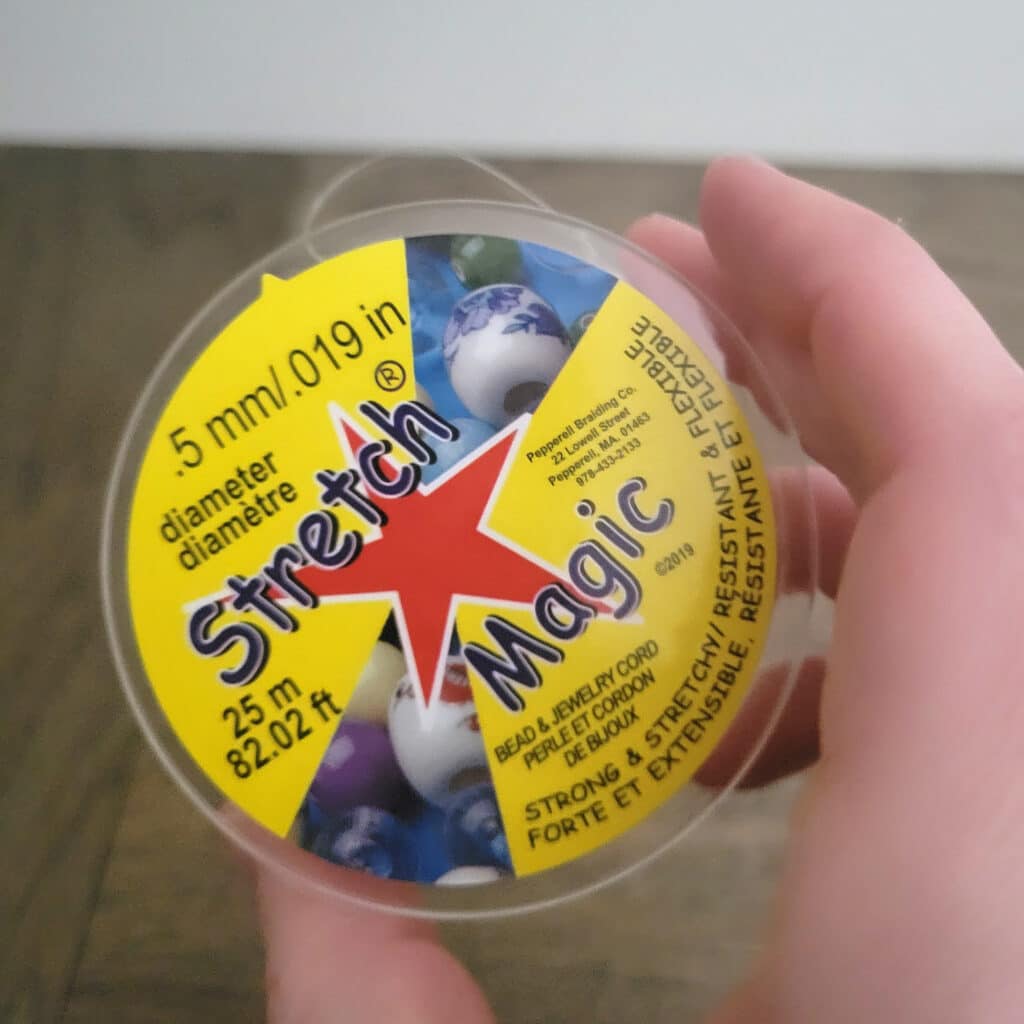
Stretchy Twine/Fishing Line
I like to hang my balloon arch with stretch bracelet/fishing twine. It makes it almost invisible in photographs, and does a great job of holding the arch up just how I’d like it. I bought mine from Hobby Lobby, but you can find it at pretty much any craft store, Walmart, or Amazon.
If You Make a Lot of Balloon Garlands (especially for Cake Smash Sessions)
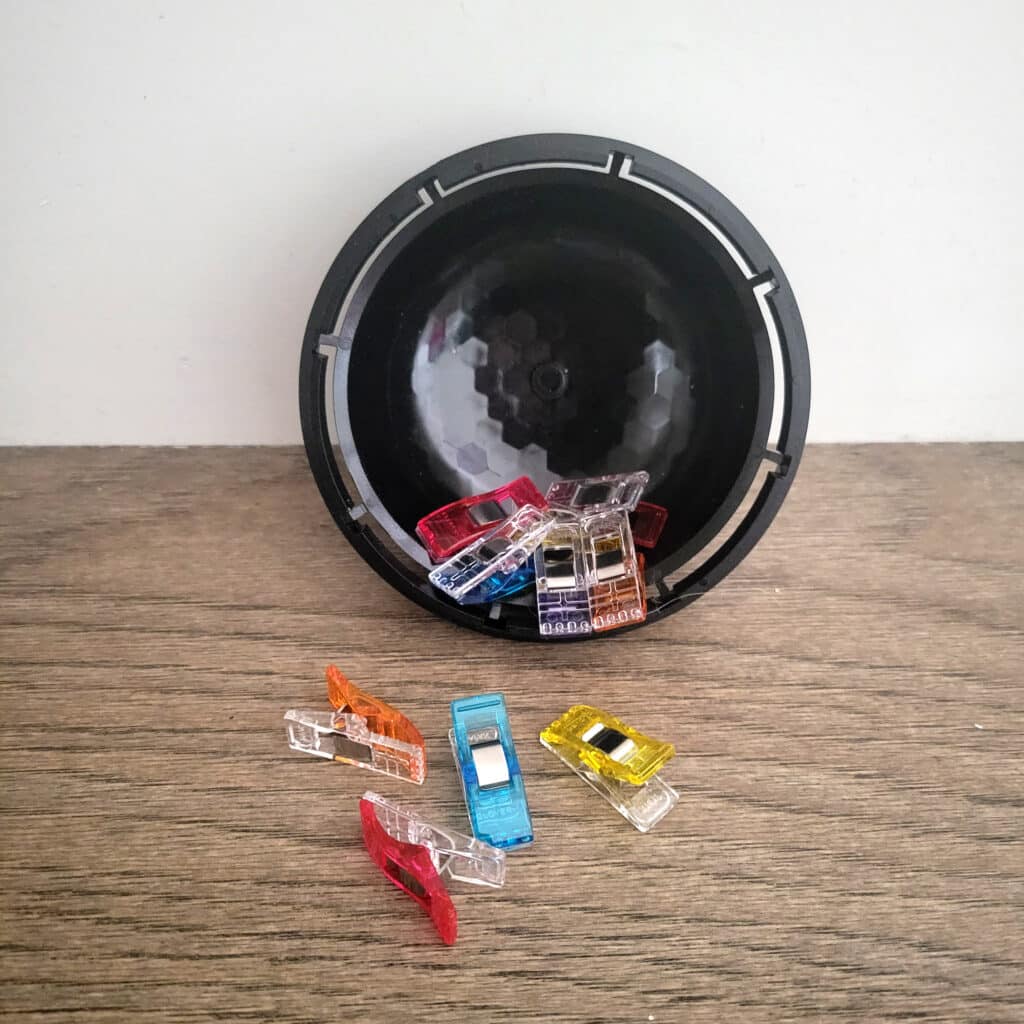
Quilting Clips
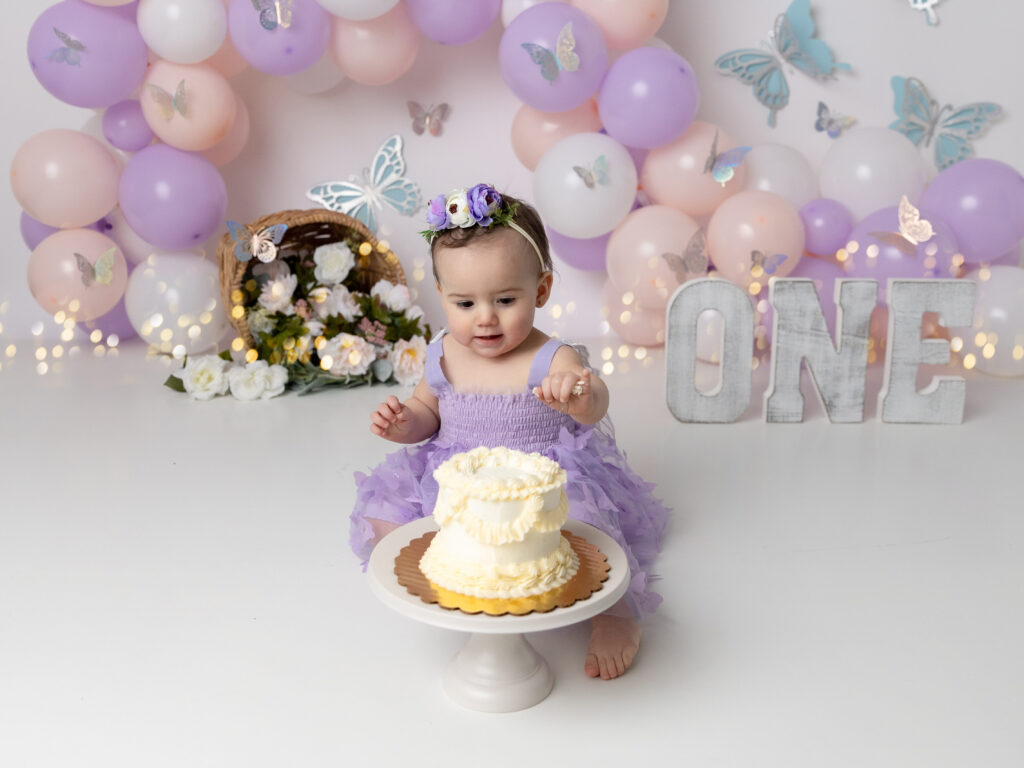
This is the way I like to hang my balloon garlands for Cake Smash Sessions. I like to use a backdrop stand so that my balloon arch stays lower to the ground. This way the balloon arch is nice and visible behind the toddler. Since I do a lot of these sessions, I keep my stretchy twine tied to the horizontal bar of my backdrop stand. Then I use quilting clips to attach my balloon arch to the twine. This allows me to re-use my stretchy twine, and is faster because they’re already hung to be about the right relative height from one another to make a pretty arch shape.
How to Make a Balloon Garland: The Steps
1. Blow up the Balloons
I like to blow up about 5 of each color consecutively. That way I know I have about an even number of each color. For a Cake Smash-sized balloon arch, I typically need somewhere around 80 balloons. About 1 in every 4 or 5 balloons needs to be a small one. This won’t make a big difference right at the beginning, but as you keep adding balloons to the balloon arch tape, you’ll notice that they bunch up and you’ll either need to start skipping holes or you’ll need to add some small balloons.
2. Add Balloons to the Arch Tape
The arch tape will usually be secured with a piece of regular tape. Take that off and the tape will start to unravel.
You’ll notice holes along the tape- usually they look kind of like little snowmen. One large hole connected to a smaller hole. You’ll pull the knot of the balloon through that larger hole, then, when it’s through, you’ll slide it into the smaller hole to lock it in place. Keep attaching a single balloon into each hole in the balloon arch tape. Once you get going, it will begin creating a nice balloon arch. As the balloons start taking up more room, you will notice it seems like you need to skip a hole. Instead of skipping a hole, use a smaller balloon (or two) and then continue with your regular-sized balloons.
I usually end up doing about 4-5 large balloons, followed by a small balloon.
Continue adding your balloons until your arch is as long as you would like it to be.
3. How to Hang up your Balloon Garland
I like to use a backdrop stand and fishing twine/stretchy bracelet twine to hang up my balloon garlands for my Cake Smash Sessions. First I set up my backdrop stand, then I tie twine in about 5-7 places along the horizontal bar. The shortest twine will go right in the middle (to make the top of the arch). Then I space my twine out evenly around that twine on each side, gradually lengthening my twine as I go.
Using quilting clips, I clip the arch tape to the twine. Then I step back and make sure my alignment is correct. If not, I can unclip whichever piece needs to be higher or lower and fix my arch.
If the entire arch is too high or too low, I can adjust the height of the backdrop stand instead.
4. Fill In
If you have any spots that seem a little bare, you can use extra balloons to fill them in. Take a little tape (or tape dots that often come with balloon arch tape sets) and adhere the extra balloons wherever you need them. Tape dots also work well for attaching other embellishments to the balloon arch.
DIY Balloon Garland (Balloon Arch) FAQ
How long does a balloon arch last?
Indoors, your balloon arch can look fresh for 2-4 days. Outdoors, expect 8–24 hours depending on weather. Keep your balloons out of heat and sunlight, and away from kids and pets.
How many balloons do I need for a balloon garland?
For my cake smash balloon garlands, I usually use about 75-80. For a full sized arch (around 8-10 feet), you may be looking at closer to 125 balloons. It really depends on the size of your balloons and how full you want your arch to be. I always suggest buying more balloons than you think you’ll need. It’s easier to fill in with matching balloons than to try to color match later.
Do I need helium to make a balloon arch?
Nope! Most balloon arches are made with air-filled balloons attached to a frame or fishing line. I do recommend blowing them up with a balloon pump, just to save yourself the headache of blowing up so many balloons.
Can I make a balloon arch the night before?
Yes, I do this all the time! In fact, I recommend doing this so you don’t have any last minute surprises. Do keep it indoors and away from heat or direct sunlight to prevent deflation.
Do you get blisters from tying all the balloons?
I can usually get through about one arch before I start hurting my fingers. To avoid this, I like to wrap my 2nd and 3rd fingers in electrical tape. It just seems to cling well and creates a buffer between the balloons I’m tying and my fingers. Otherwise they start to get rubbed raw.
What’s the easiest way to make a balloon arch?
Use a balloon strip for quick assembly—just pull the tied ends through the pre-cut holes and attach to your frame or tie up with fishing line.
I hope you found this guide helpful and that you’re excited to start your balloon garland!
Creating a balloon garland is a lot easier than it seems. I can usually whip one of these out in about 45 minutes. The part that takes the longest is just blowing up all of the balloons! Please feel free to leave any questions below. I’m happy to help!
Similar Posts
Save Money as a Photographer With This One Change
If You Sell Portrait Products, You Can Save Money as a Photographer With This One Change When you purchase your products for resale, did you know that YOU don’t need to pay sales tax on those products? Whether you do In Person Sales or allow clients to purchase products through their portrait gallery, if you…
Tutorial Tuesday: How to Create Photoshop Actions and Shortcuts
Welcome to this Tutorial Tuesday about How to Create Photoshop Actions and Shortcuts. Creating your own photoshop actions and shortcuts is an easy way to speed up your photo editing workflow, so you have more time to do the things you love most! Creating Shortcuts and Actions by Rebecca Kayne Creating Photoshop Shortcuts I don’t…
Tutorial Tuesday: How to Clean Up a Backdrop in Photoshop
Welcome to this Tuesday Tutorial on How to Clean Up a Backdrop in Photoshop! I love using Savage Seamless Backdrop Paper– It’s a simple way to get a clean, wrinkle-free look. It doesn’t bunch up on the ground like fabric does, and it’s easy to customize with digital backdrops. Even though it comes in a…
Tutorial Tuesday: How to Use Digital Backdrop Textures
Welcome to this Tutorial Tuesday about How to use Digital Backdrop Textures. There are a few reasons why I LOVE adding textures to my digital backdrops. One is BANDING. If you aren’t familiar with banding, it’s this terribly annoying photoshop problem that comes from working (or saving) in a color space that is finite (8…
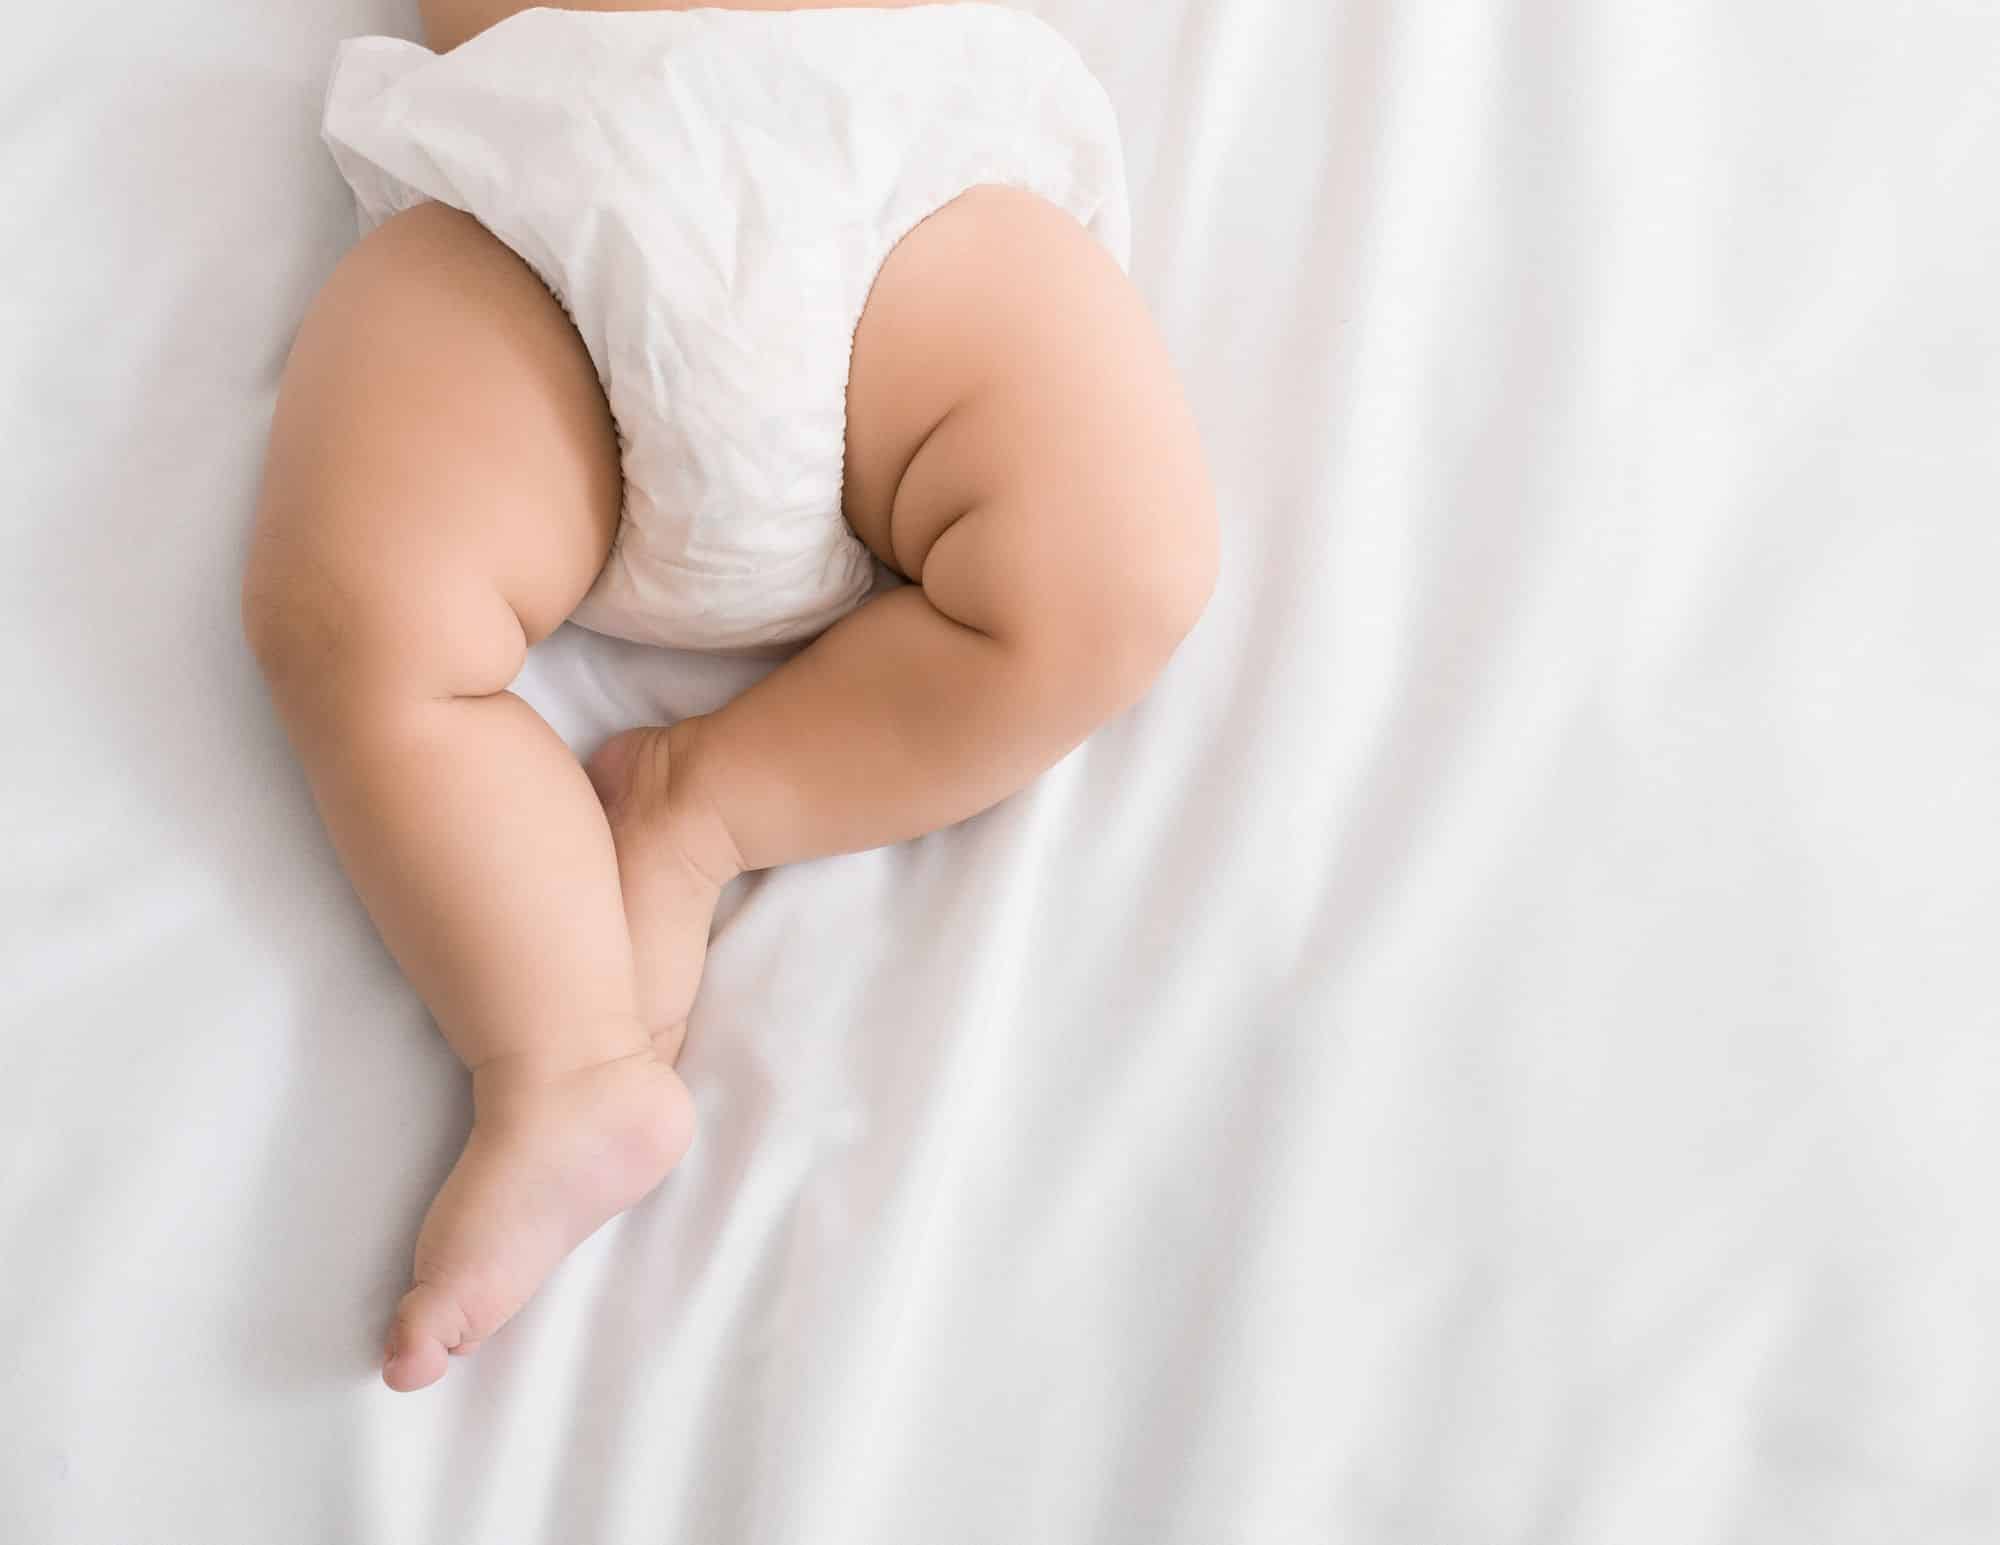
Tutorial Tuesday: Easily Hiding Diapers in Newborn Portraits
Today’s Tutorial Tuesday is going to help you solve one of the biggest problems newborn photographers face- and that is… THE DIAPER. To keep it on, or take it off can be a huge dilemma, since we know mom and dad probably won’t love seeing the diaper in photos, and yet we don’t want to…
Newborn Photography Props: 10 Essential Props for Stunning Sessions
When it comes to newborn photography props, the right tools can transform a sweet baby photo into a timeless work of art. Whether you’re a professional photographer or a parent hoping to capture those fleeting early days, the right props for newborn photography help set the scene, add depth and interest to your photos, and ensure baby’s comfort….